
How to Use SquareForge
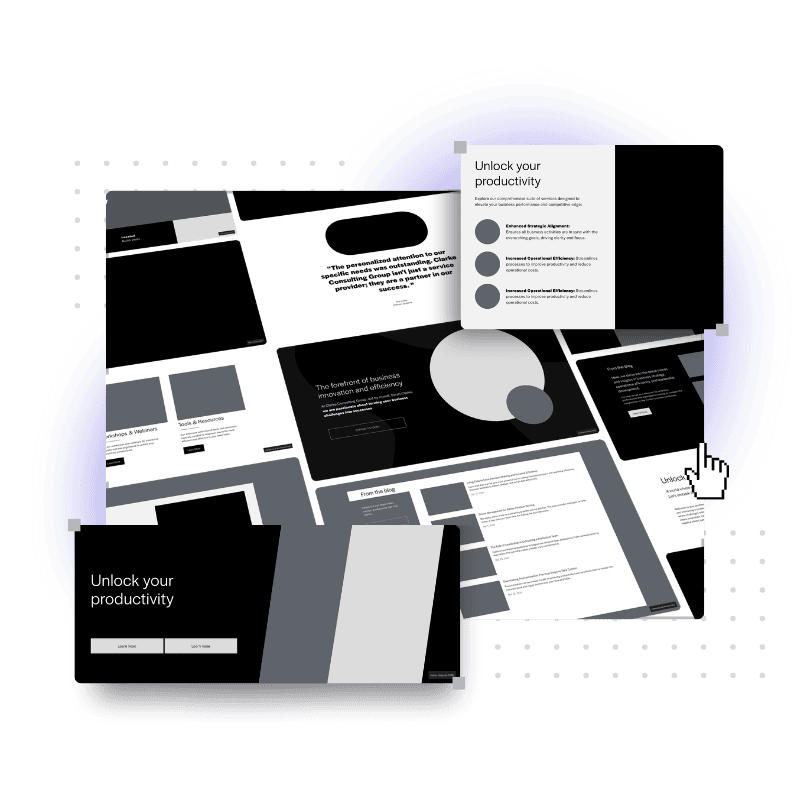
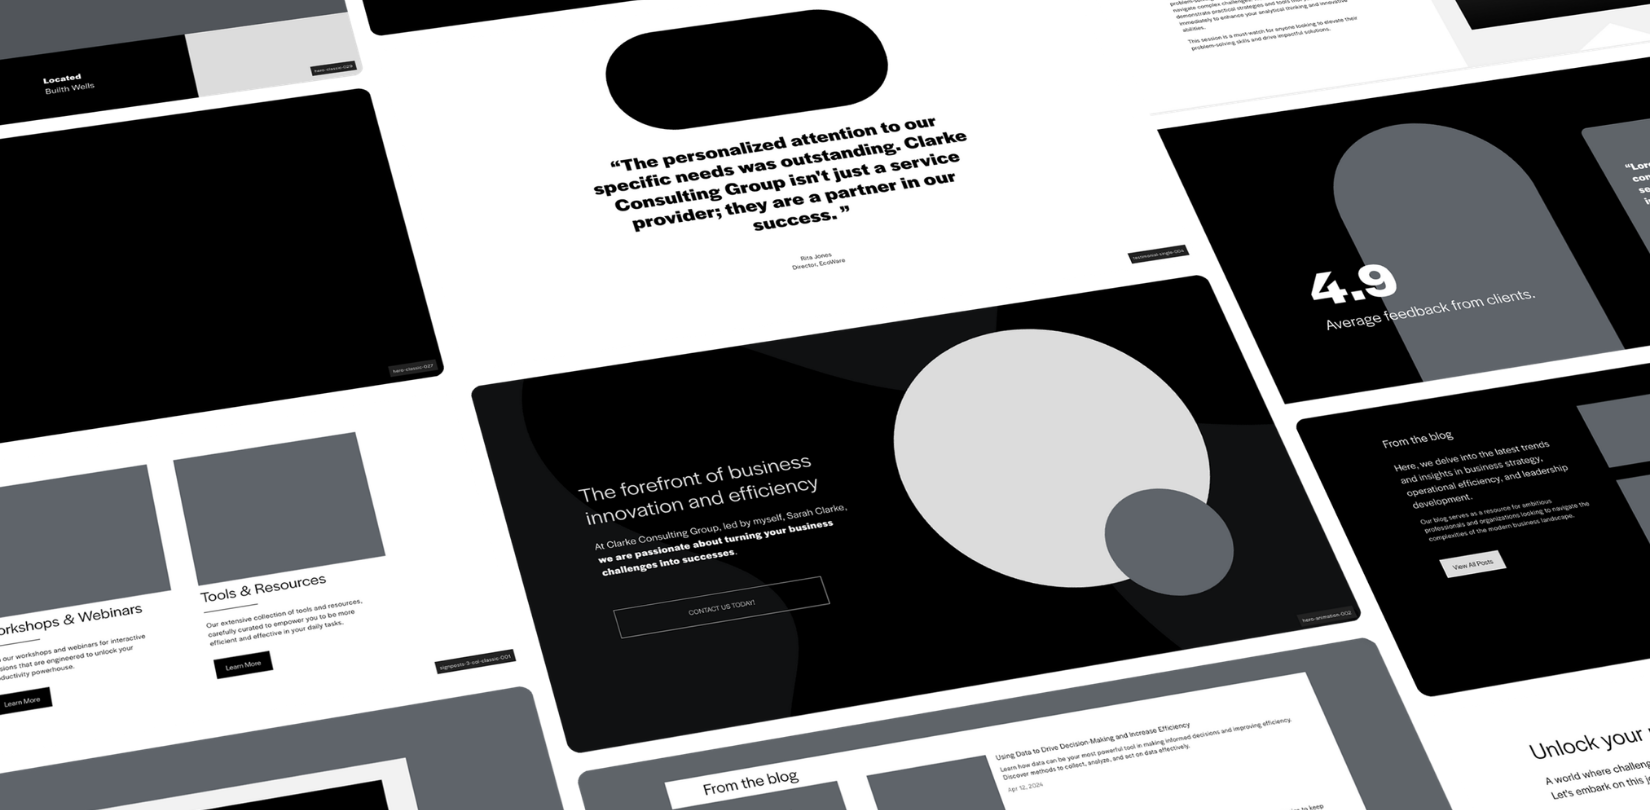
SquareForge is designed to help Squarespace designers rapidly wireframe, structure and build custom websites using reusable modular layouts and sections.
Follow the steps below to get started with your SquareForge installation and workflow.
Step 1: Purchase & Installation
Purchase SquareForge
Purchase your SquareForge licence directly through the SquareForge website.
During checkout, please ensure you provide the email address connected to your Squarespace account. This allows us to correctly install SquareForge into your Squarespace environment.
Installation Process
Once your order has been placed, we will begin preparing your SquareForge installation.
Please allow up to 48 hours for installation and setup. In many cases installations are completed sooner, however during busy periods the full installation window may be required.
Once installation is complete, you’ll receive access to the SquareForge master site and everything needed to begin building with the layout system.
Pay Once,
Use Forever!
Purchase now for a one-off fee, and get over 350 unique Squarespace section designs for your website.
Step 2: Duplicate the Master Template
Important: Always Duplicate the Master Site
Before starting a new client project, always duplicate the SquareForge master site.
This ensures:
your original SquareForge installation remains untouched
you always have access to the complete section library
each client project starts from a clean foundation
reusable layouts and saved sections remain organised
To duplicate the site:
Open your Squarespace dashboard
Locate the SquareForge master site
Select ‘Duplicate Website’
Rename the duplicated site for your project
You can now begin customising the duplicated version without affecting the original master installation.
Step 3: Save Sections for Reuse
One of the main benefits of SquareForge is the ability to save and reuse layouts across multiple projects.
Identify the Section
While editing a page inside Squarespace, locate the section you would like to reuse in future projects.
This could include:
hero sections
service layouts
testimonials
galleries
pricing tables
FAQs
calls-to-action
contact sections
Save the Section
To save the section:
Open the page editor
Navigate to the section you wish to save
Click the heart/save icon
Save the section to your Squarespace saved sections panel
Your section can now be reused across pages and future projects.
Step 4: Add Saved Sections to New Pages
Insert Saved Sections
To use a previously saved section:
Open the page you want to edit
Select ‘Add Section’
Open your Saved Sections panel
Choose the layout you want to insert
The section will automatically inherit the styles and structure of the current website.
Customise the Layout
Once inserted, sections can be fully customised using Squarespace Fluid Engine.
You can:
move blocks
duplicate layouts
resize content
update colours
swap imagery
change typography
remove or add elements
This allows every layout to remain flexible whilst dramatically reducing repetitive setup work.
Step 5: Build & Customise Your Website
Adjust Layout Structures
SquareForge layouts are designed as flexible wireframe foundations rather than fixed templates.
Use Squarespace Fluid Engine to:
drag and reposition content
duplicate blocks
create new layout variations
expand sections
rearrange content hierarchy
This makes it easy to adapt layouts for different industries, brands and client requirements.
Replace Content & Branding
Once your structure is complete, customise the website with your own:
branding
colours
typography
imagery
products
written content
videos
calls-to-action
Because SquareForge is built entirely within Squarespace 7.1, all editing remains familiar and code-free.
Recommended Workflow
Most designers use SquareForge to:
Rapidly wireframe website structures
Build layouts during strategy calls
Create faster client approvals
Reduce repetitive design work
Develop polished custom websites more efficiently
SquareForge provides the foundation; you customise the final creative direction.